Semi-freestanding, three season, crazylight tent
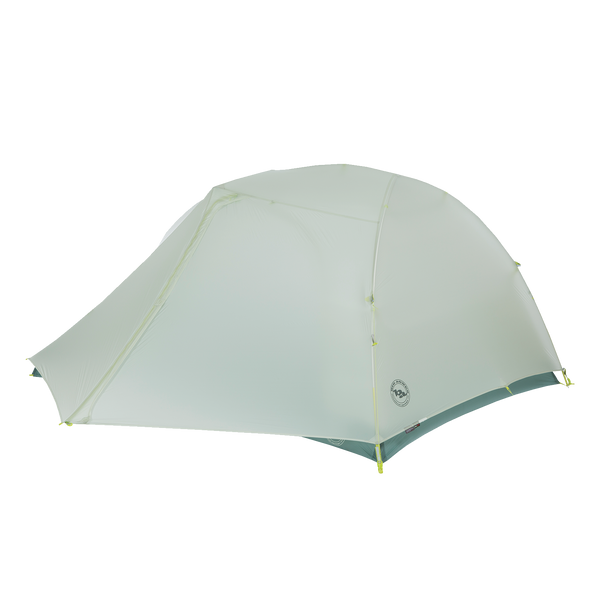
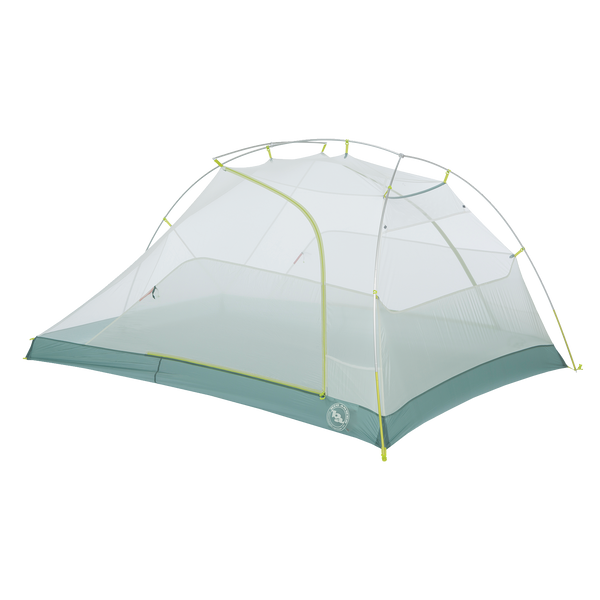
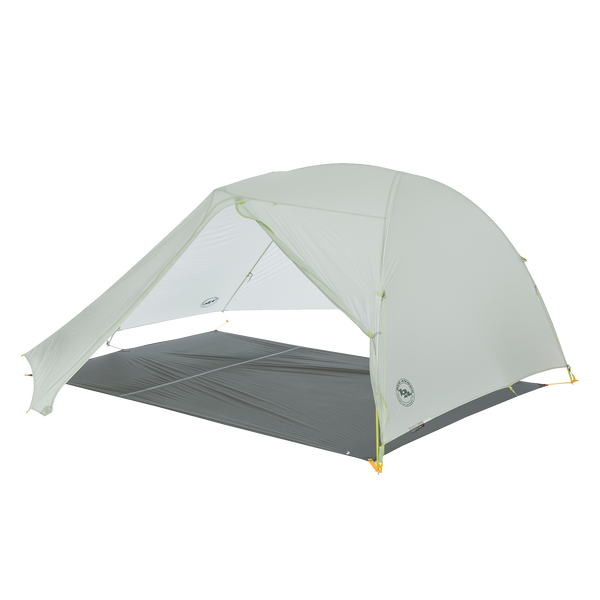
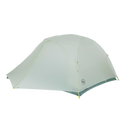
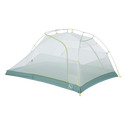
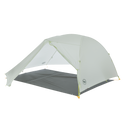
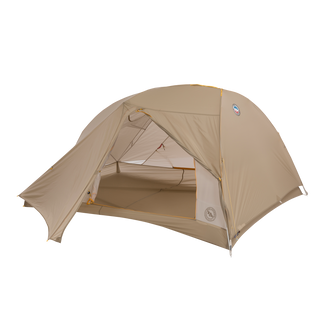
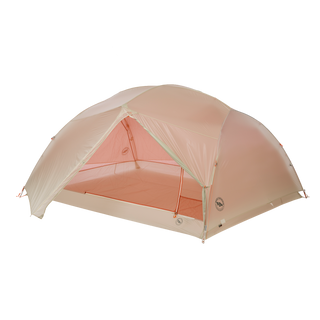
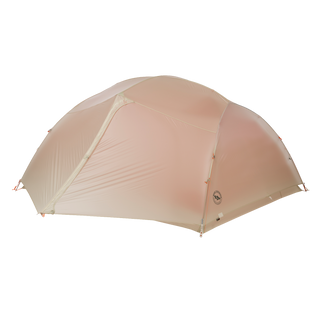
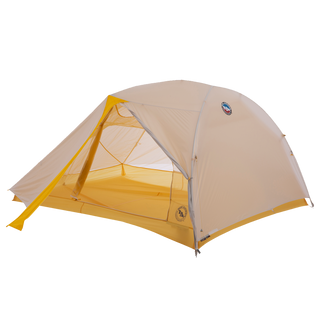
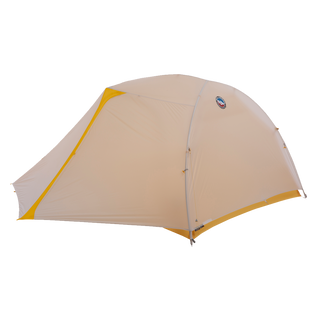
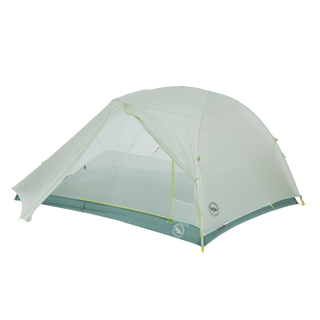
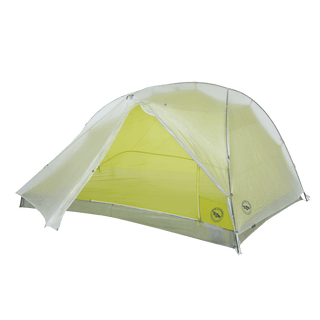
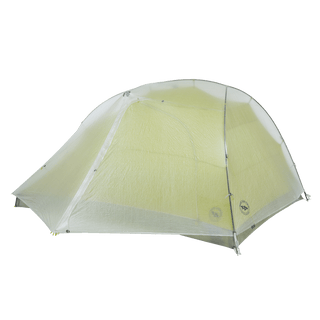
The Big Agnes Tiger Wall 3 Platinum tent takes two-door tent life to a crazylight new level. Two doors, two vestibules, free standing and with tons of extras you've come to love on our full-featured tents - like pre-cut guylines, color-coded webbing, buckles and storage pockets. It's quick and easy to setup in the dark, in a storm, or by yourself. For weight-conscious backcountry travelers, this is the ultimate overnight companion.

Key Accessories
Features
Specs
Materials
Reviews
Care
Setup
Joining our award winning Platinum line of Crazylight tents, the Tiger Wall Platinum offers two doors and two vestibules for fast and light trail missions where every inch of space counts.
Features two doors and two vestibules with storm flaps on the vestibule zippers
Dry-entry door design keeps the interior of your tent dry as you enter and exit
DAC poles create a strong structure that is light and spacious
Single-pole architecture makes set up and take down simple and efficient
Dual-zipper doors are smooth closing, allowing for easy entry. Use only one zipper for quick reach-through access.
Structured foot-end corners create more usable space between your feet and tent wall
Quick Stash door keeper on tent body door makes stowing unzipped door quick and easy
Oversized ceiling pocket provides great storage space
Media pockets located above sleeping area enable clean earbud-cord routing from phones or other devices
Low Vent feature on the vestibule doors for more air flow while still providing vestibule coverage
Double sliders on the vestibule zippers allows for venting from the top or bottom
Velcro® tabs connect fly to pole structure providing perfect pitch and extra stability
Color-coded webbing and buckles make set up easy
Ready to pitch; with pre-cut guylines and tensioners attached to fly
Reflective guylines and reflective webbing
Easy-grip zipper pulls
To extend the life of your tent floor we recommend using a Big Agnes footprint - sold separately
Multiple interior loops for use with gear lofts or for attaching other accessories

Fly and floor are silicone treated nylon ripstop with 1200mm waterproof polyurethane coating
Tent body is breathable nylon ripstop and polyester mesh
All seams taped with waterproof, solvent-free polyurethane tape (No PVC or VOC's)
DAC Featherlite NFL pole system
Ultralight plastic clips attach tent body to pole frame
Hub pole design
2 interior mesh pockets, 1 oversized mesh pocket with two cord-routing portals & 8 DAC superlight aluminum J stakes
Gear loft loops included
Footprint - sold separately
Fast Fly setup available
Fits Triangle, Trapezoid, Large Trapezoid, Wall and Large Wall gear lofts - sold separately
Imported
Tent and Footprint Cleaning and Care Instructions:
Storage:
Always make sure your tent is dry and free of debris before storing. Fold and roll your tent a different way each time to avoid permanent creases. Store in a cool, dry place. Never leave your tent in hot temperatures (such as a car trunk or attic space) for long periods of time, as it will damage the material coatings. Storing your tent damp can result in mildew growth, which may cause your tent to smell, leak, or delaminate. Mildew damage is not covered under warranty.
Cleaning:
For light cleaning, sponge the product with warm water (not hot).
For more thorough cleaning you will need:
-Wash basin (or bath tub)-Warm water (not hot)
-Waterproof Gear Cleaner (we recommend products like Nikwax Tech Wash)
-Sponge
1. Submerge your gear in warm, clean water. Gently agitate with hands. Empty dirty water. Repeat until most of the excess dirt/grime is removed and water is mostly clear.
2. Apply waterproof gear specific wash and gently work into fabric with sponge.
3. Rinse gear thoroughly.
4. Hang it up to dry.
5. Triple check that your gear is completely dry before storage or use.
*Do not dry clean or machine-wash. Detergents and dry cleaning solvents will damage the fabric and ruin waterproofing.
*Never use hot water, bleach, liquid detergents, or dishwashing liquids.
*Allow to dry COMPLETELY before storage or use.
*Avoid prolonged direct sunlight as UV exposure can compromise waterproofing.
Seam Sealing:
Big Agnes tents are seam sealed as part of our manufacturing process! This seam tape alone is durable enough to prevent water leakage. Any seams that have been taped do not need to be seam sealed with a liquid sealer unless you want extra protection. Make sure the seam-sealer is completely dry before re-packing your tent. Damage caused by misapplication may void warranty.
Zippers:
Keeping your zippers clean will help keep the coils and sliders from wearing out. If filled with dirt, vacuum or brush zippers before storing tent. We recommend Gear Aid Zipper Cleaner and Lubricant.
Repairs and Warranty:
All Big Agnes tents are guaranteed against manufacturing or material defect. We do not warranty products damaged from normal wear and tear, alteration made by owner, misuse, accidents or damages caused by uses other than intended. Damage due to misuse, normal wear and tear, or improper care may be repaired, at the discretion of Big Agnes, at a reasonable charge. Tents returned for repair must be clean and free of debris.
Questions? Call us or open a support case:
877.554.8975 | support.bigagnes.com
TIGER WALL PLATINUM SET UP INSTRUCTIONS:
1. Remove contents from stuff sack. Spread out the tent body.
2. Assemble the pole. To ensure each pole section is fully seated, insert each pole section into the next by hand instead of allowing the shock cord to snap them together.
3. Position the assembled pole on top of the tent body. Make sure the attached crossover pole is on top of the ridge pole. Match the colors of the pole ends with the matching colors of the webbing on the tent body.
4. Insert the pole tips into the grommets at the head and foot of the tent body.
5. Attach the plastic clips on the tent body to the main pole.
6. Clip the ends of the crossover pole into the clear plastic “Ball Cap” clips that are located above the doors of the tent body.
7. Stake out the two cord loops at the head of the tent and the three loops at the foot end.
8. Drape the rainfly over the tent body and match the colors of the webbing on the fly with the webbing on the body.
9. Insert the tips of the crossover pole into the small pockets located on the underside of the rainfly.
10. Attach all Velcro® tabs on the underside of the rainfly to the corresponding pole sections for best stability.
11. Make sure the webbing at the corners of the rainfly is completely slackened. Attach the buckles on the rainfly to those on the tent body.
12. Tighten the webbing on each buckle as needed to keep the rainfly taut.
13. Stake out the vestibules then stake out all remaining guylines.
14. For increased ventilation, hook the bottom of the vestibule door to the toggle at the top of the zipper.
Separate 6” length pole segment included for emergency field repair. Slide repair pole over the break to act as a splint. Secure splint in place with tape.
FAST FLY SET UP INSTRUCTIONS
If you purchase the optional Big Agnes footprint for your tent, it will enable you to pitch a Fast Fly shelter while leaving the tent body behind. The Fast Fly configuration requires the footprint, tent fly, poles and stakes.
1. Lay the footprint on the ground and stake out the five cord loops.
2. Assemble the pole. To ensure each pole section is fully seated, insert each pole section into the next by hand instead of allowing the shock cord to snap them together.
3. Position the assembled pole on top of the footprint. Make sure the attached crossover pole is on top of the ridge pole. Match the colors of the pole ends with the matching colors of the webbing on the footprint.
4. Insert the pole tips into the grommets at the head and foot of the footprint.
5. Drape the rainfly over the pole frame. Match the webbing colors on the fly with the matching colors of the webbing on the footprint.
6. Insert the tips of the crossover pole into the small pockets located on the underside of the fly.
7. Attach all Velcro® tabs on the underside of the fly to the corresponding pole sections for best stability.
8. Make sure the webbing at the corners of the rainfly is completely slackened. Attach the buckles on the fly to those on the footprint.
9. Tighten the webbing on each buckle as needed to keep the rainfly taut.
10. Stake out the vestibules then stake out all remaining guylines.
HELPFUL HINTS FOR TENT SET UP
Our tents are easy to set up but we suggest you practice once at home before using them for the first time to avoid late night bickering with tent mates while fumbling around in the dark.
Before pitching tent, clear campsite of debris that may pierce tent floor.
We recommend staking out all corners, vestibules and guylines to increase space and ventilation. Securely staking out your tent and all guylines is crucial to maintaining the structural integrity of your tent.
Hang onto your stuff sacks or they’ll blow away and create backcountry litter.
Pull on the pole sleeve fabric when inserting poles to avoid any bunching in the material.
Push rather than pull poles through pole sleeves.
Thanks for choosing a Big Agnes tent!
Please feel free to contact us if you have any questions or comments.
support.bigagnes.com | 877.554.8975
What's in a Name?
Only accessible while floating the Yampa River, this geological masterpiece runs through Dinosaur National Monument just west of Steamboat Springs, Colorado. The Tiger Wall features surreal streaks of black desert varnish known as Navajo Tapestry. It’s tradition for boaters to kiss the wall for luck before navigating the Warm Springs rapid.