Right in the middle of ultralight and overbuilt is where you'll find our Sheep Mountain tents. Made of durable and lightweight Oxford polyester, these versatile tents will thrive in arid desert canyons, high elevation alpine forests, and everything in between. A large door and vestibule provide easy entry and exit, ample dry space to store gear, and extra ventilation on warmer nights. Color coded webbing and buckles make set up easier, and eight interior mesh pockets keep all your accessories organized and within an arms reach.
Tent and Footprint Cleaning and Care Instructions:
Storage:
Always make sure your tent is dry and free of debris before storing. Fold and roll your tent a different way each time to avoid permanent creases. Store in a cool, dry place. Never leave your tent in hot temperatures (such as a car trunk or attic space) for long periods of time, as it will damage the material coatings. Storing your tent damp can result in mildew growth, which may cause your tent to smell, leak, or delaminate. Mildew damage is not covered under warranty.
Cleaning:
For light cleaning, sponge the product with warm water (not hot).
For more thorough cleaning you will need:
-Wash basin (or bath tub)-Warm water (not hot)
-Waterproof Gear Cleaner (we recommend products like Nikwax Tech Wash)
-Sponge
1. Submerge your gear in warm, clean water. Gently agitate with hands. Empty dirty water. Repeat until most of the excess dirt/grime is removed and water is mostly clear.
2. Apply waterproof gear specific wash and gently work into fabric with sponge.
3. Rinse gear thoroughly.
4. Hang it up to dry.
5. Triple check that your gear is completely dry before storage or use.
*Do not dry clean or machine-wash. Detergents and dry cleaning solvents will damage the fabric and ruin waterproofing.
*Never use hot water, bleach, liquid detergents, or dishwashing liquids.
*Allow to dry COMPLETELY before storage or use.
*Avoid prolonged direct sunlight as UV exposure can compromise waterproofing.
Seam Sealing:
Big Agnes tents are seam sealed as part of our manufacturing process! This seam tape alone is durable enough to prevent water leakage. Any seams that have been taped do not need to be seam sealed with a liquid sealer unless you want extra protection. Make sure the seam-sealer is completely dry before re-packing your tent. Damage caused by misapplication may void warranty.
Zippers:
Keeping your zippers clean will help keep the coils and sliders from wearing out. If filled with dirt, vacuum or brush zippers before storing tent. We recommend Gear Aid Zipper Cleaner and Lubricant.
Repairs and Warranty:
All Big Agnes tents are guaranteed against manufacturing or material defect. We do not warranty products damaged from normal wear and tear, alteration made by owner, misuse, accidents or damages caused by uses other than intended. Damage due to misuse, normal wear and tear, or improper care may be repaired, at the discretion of Big Agnes, at a reasonable charge. Tents returned for repair must be clean and free of debris.
Questions? Call us or open a support case:
877.554.8975 | support.bigagnes.com
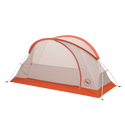
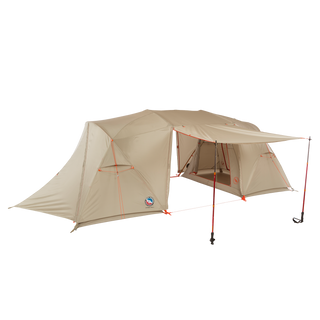
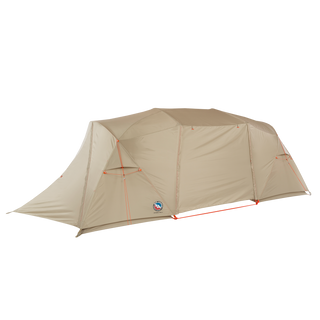
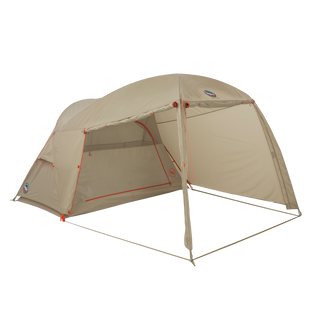
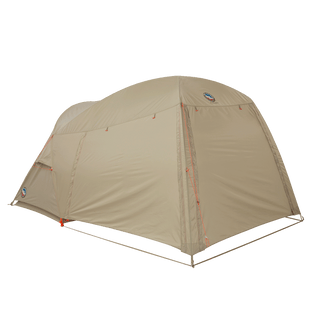
SHEEP MOUNTAIN SET UP INSTRUCTIONS
1. Remove contents from stuff sack. Spread out the tent body.
2. Stake out the four corners.
3. Assemble the poles. Ensure each pole section is fully seated into the next byhand instead of allowing the shock cord to snap them together.
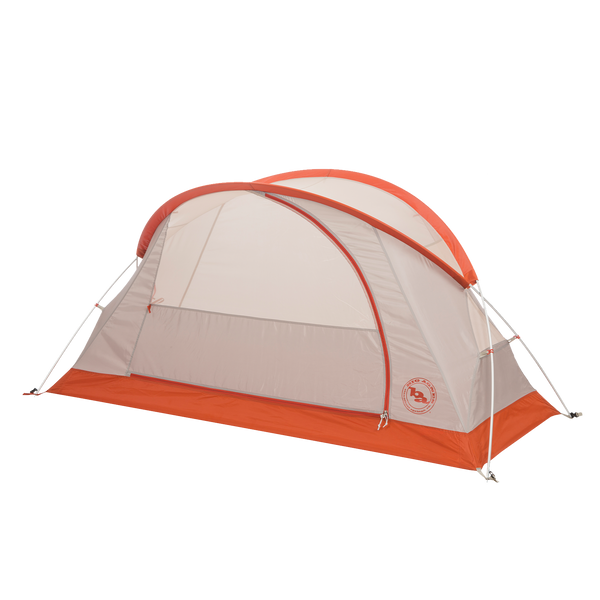
4. Insert one pole into each pole sleeve on the top of the tent body.
5. Insert each pole tip into the corresponding webbing grommet. Poles will inter-sect over both the head and foot ends of the tent creating an eye shape overthe tent body.
6. Attach all plastic clips on tent body to the poles.
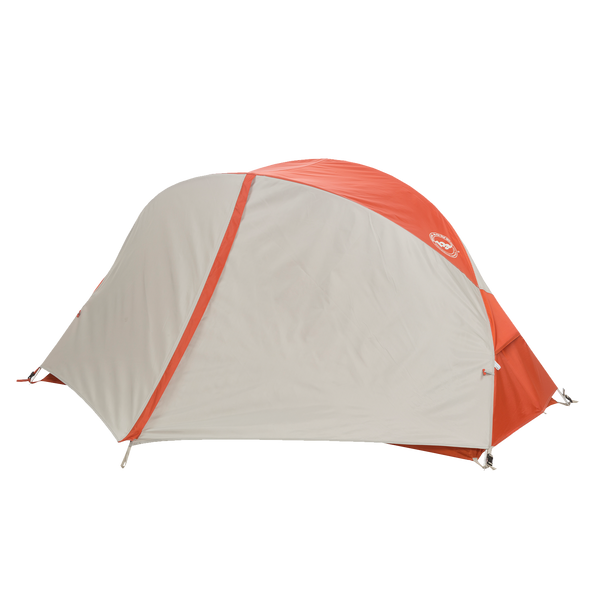
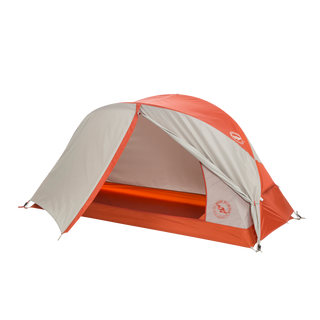
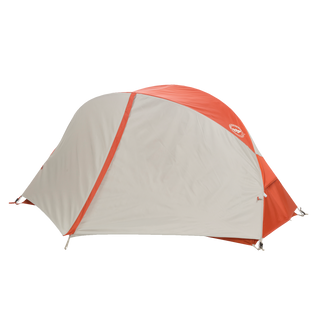
7. Drape the rainfly over the tent body, orienting so the colors of the webbing onthe rainfly match the webbing on the tent body.
8. Attach the hook and loop tabs on the underside of the fly to the correspondingpoles for best stability.
9. Make sure the webbing located at the corners of the fly is completely slack-ened. Attach the buckles on the fly to those on the tent body.
10. Tighten the webbing on each buckle as needed to keep the fly taut.
11. Stake out the vestibules, then stake out and tension all remaining guylines.
12. Low Vent Set Up: For increased ventilation, hook the cord located at the bot-tom of the vestibule door to the toggle at the top of the zipper located on theunderside of the fly.Separate 6” length pole segment included for emergencyfield repair. Slide repair pole over the break to act as a splint.Secure splint in place with tape.Sheep Mountain 1 Tent Body and Fly
Please do not edit the
Cut here to remove. Do Not Tear!Thanks for choosing a Big Agnes tent!Please feel free to contact us if you have any questions or comments.www.support.bigagnes.com
HELPFUL HINTS FOR TENT SET UP
Our tents are easy to set up but we suggest you practice once at home before using them for the first time to avoid late night bickering with tent mates while fumbling around in the dark.
Before pitching tent, clear campsite of debris that may pierce tent floor.
We recommend staking out all corners, vestibules and guylines to increase space and venti-lation. Securely staking out your tent and all guyline is crucial to maintaining the structural integrity of your tent.
Hang onto your stuff sacks or they’ll blow away and create backcountry litter.
Pull on the pole sleeve fabric when inserting poles to avoid any bunching in the material.
Push rather than pull poles through pole sleeves.
Thanks for choosing a Big Agnes tent!
Please feel free to contact us if you have any questions or comments.
support.bigagnes.com | 877.554.8975